Choosing the best travel photography destinations is about more than finding beautiful scenery; it’s about knowing where and when to capture unforgettable images. Many photographers arrive at iconic locations only to face harsh lighting, large crowds, or missed opportunities because of poor planning. By selecting destinations with incredible photo potential and understanding the best times, viewpoints, and preparation techniques, you can return home with images that truly capture the spirit of your travels.
Table of Contents
How to Choose Photo-Perfect Travel Destinations for Epic Light and Composition
Start by ranking every location against five criteria, light quality, seasonal windows, signature compositions, accessibility, and legal restrictions. Use sun-angle tools like PhotoPills and The Photographer’s Ephemeris to validate exactly where sunrise and sunset lines will fall for your shot.
Match the destination type to your goal, sweeping landscapes require different timing than intimate architecture or long-exposure seascapes. Create a simple scorecard to compare sites, and give extra weight to best light window when you choose where to invest days.
Landscape Photography Destinations Worth the Trip — Where to Shoot and When
Landscape spots reward patience and planning, and small timing changes produce drastically different photos. For curated route ideas, check curated lists of top travel destinations as inspiration, then validate light with sun-angle tools and local weather patterns.
When possible, allow multiple days at a site to wait for clear morning light, moody storms, or still blue-hour reflections. Always scout approach routes in daylight to locate safe foregrounds and tripod setups.
Below is a quick comparison to help decide where to spend your days and effort:
| Destination | Best Season | Ideal Time | Distinctive Feature | Difficulty/Access |
|---|---|---|---|---|
| Iceland (Vestrahorn, Jökulsárlón) | Autumn, spring | Sunrise for reflections | Black sand, iceberg reflections | Moderate, 4×4 recommended |
| Patagonia (Torres del Paine) | Late spring | Early morning, layered light | Towering peaks, dramatic scale | Challenging hikes, remote access |
| Lofoten and Faroe Islands | Shoulder seasons | Low-angle golden hour | Jagged coastlines, storm contrast | Variable, ferry or small plane access |
| Canadian Rockies (Banff, Lake Louise) | Late spring to early autumn | Blue hour and sunrise | Alpine reflections, turquoise lakes | Easy to moderate, popular viewpoints |
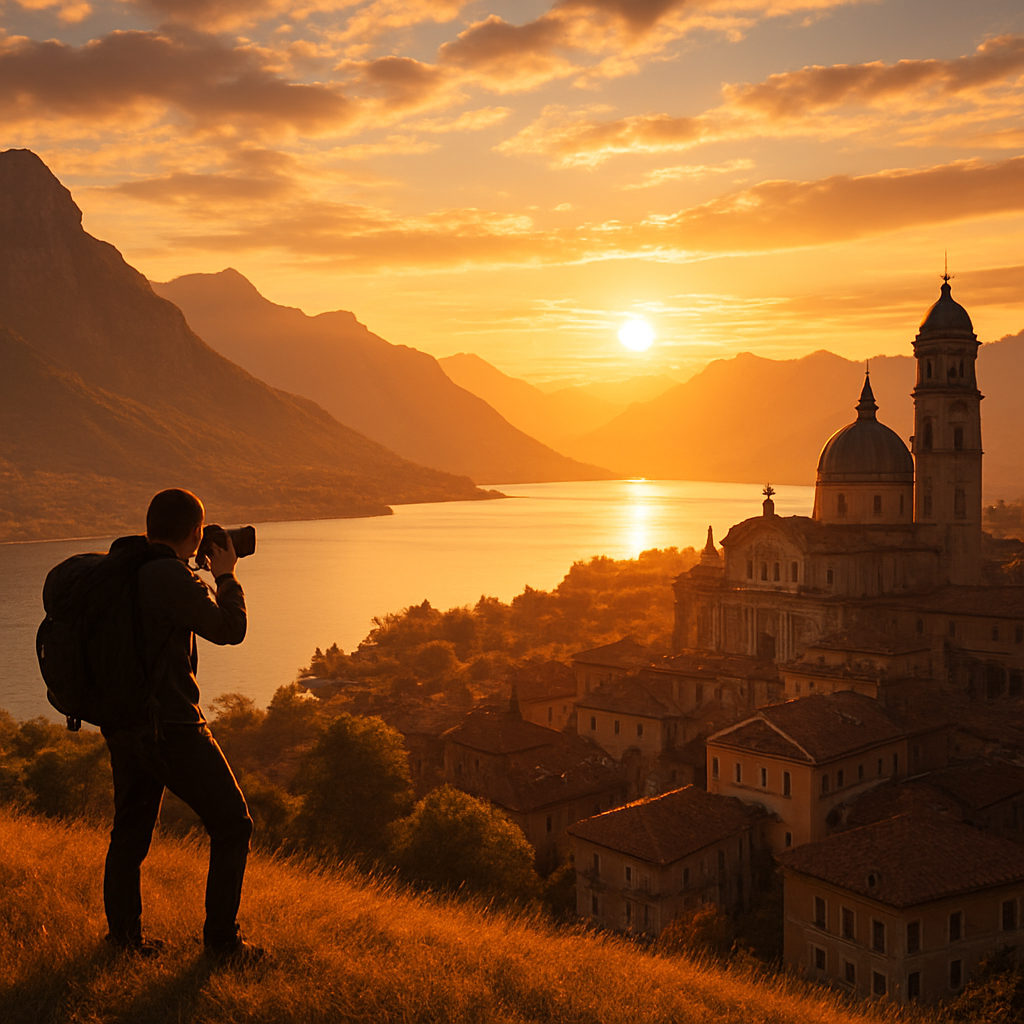
Architectural and Urban Photography Hotspots That Deliver Iconic Frames at Golden Hour
Architecture needs timing that flatters façades, and golden hour often reveals textures and depth that midday light hides. Classic cities like Rome, Barcelona, and Istanbul require early starts to avoid tour groups, and modern skylines in Dubai or Tokyo demand attention to mixed light sources. Respectful approach matters, indoors and outdoors, so check local policies before planning interior shoots and bring a small light meter or app to balance mixed scenes. A focused pre-shoot plan keeps you from wasting golden hour, and it helps to note best façade light windows in advance.
Use these practical strategies to capture architecture during golden hour:
- Scout façades during midday to plot tripod locations and shadow patterns.
- Shoot from alleyways for texture and intimate compositions near historic sites.
- Balance ambient light with flash or LED panels for interior captures when allowed.
- Ask for permissions early, and avoid photographing private interiors without consent.
Coastal, Waterfall and Reflection Locations for Dramatic Long-Exposures and Color
Long exposures turn moving water into silk and cloud streaks into motion lines, and the right filter choices are central to that look. Use neutral density filters in steps from 3-stop to 10-stop, depending on light, and combine with polarizers to reduce glare during blue hour. Tide and swell planning are essential to find exposed rocks and safe vantage points, so check local tide tables the night before your shoot. Anchor your frame with a strong foreground interest element to add depth to long-exposure scenes.
Nightscapes and Astro-Photography Destinations to Capture Milky Way and Aurora
Choose dark-sky locations and clear horizons to maximize star visibility, and learn local forecasts to avoid wasted nights. For aurora work, read KP index forecasts and local cloud reports, and plan for flexible night drives so you can chase clear gaps. Prepare for cold-weather battery drain and bring insulated packs to preserve power for long sessions. A compact primer on camera settings and gear will keep you ready to capture Milky Way detail when the sky cooperates.
Key nightscape steps include:
- Pick a dark-sky site with minimal light pollution, and confirm legal night access to the area.
- Use wide fast lenses at wide open aperture, and apply the 500 or NP rule to set exposure length.
- Set ISO high enough for stars, then manage noise with stacking or modern denoising tools.
- Carry spare batteries, and keep gear warm in insulated pouches during cold nights.
Practical Shooting Checklist: Gear, Ideal Camera Settings, and Local Rules to Save Shoots
Packing with purpose reduces stress and improves results, and your kit should match trip length and style to avoid unnecessary weight. Essentials include a sturdy tripod, at least one wide prime, one telephoto, ND and polarizing filters, plus backup storage and batteries. Document local rules for drones and tripods, and check heritage site policies before commercial shoots. A focused checklist keeps you efficient, and it protects your time in the field by removing guesswork about essential gear.
| Item | Purpose | Weight | Budget Option |
|---|---|---|---|
| Full-frame mirrorless body | High dynamic range landscapes and low-light | 700 g | APS-C mirrorless alternative |
| Wide prime 16-35mm | Landscapes and architecture composition | 500 g | Kit zoom with good close focus |
| Lightweight carbon tripod | Long exposures and precise framing | 1.2 kg | Aluminum tripod option |
| ND filter kit | Long exposures for water and clouds | 200 g | Single variable ND |
| Extra batteries and SSD | Power and storage on remote shoots | 300 g | High-capacity SD cards |
How to Avoid Crowds and Capture Unique Perspectives at Popular Photo Hotspots
Crowds block compositions, so timing and framing are your primary tools to reduce people in frame. Shoot pre-dawn and blue hour to get cleaner foregrounds, and prefer weekday windows when possible, since many tourists visit on weekends. Tight compositions and telephoto compression can isolate subjects without requiring secrecy. Use local guides or photo communities to learn hidden vantage points, and always respect local people and private property while you work to maintain trust and access.
Practical crowd avoidance steps include:
- Plan shoots for pre-dawn, blue hour, or late evening to avoid peak crowds.
- Use telephoto lenses to compress scenes and remove foreground people.
- Engage local photo groups for lesser-known vantage points and safe routes.
- Be courteous when photographing people, and always obtain permission for portraits.
Post-Trip Workflow: Quick Edits and Presentation Tips to Make Travel Photos Pop
A fast raw-processing workflow keeps your output consistent, and a few targeted steps return the maximum visual impact. Start with exposure and white balance, then apply local adjustments to recover skies and foreground detail, and finish with sharpening and export settings matched to the deliverable. When publishing images shot in protected areas, check permit rules and site statuses through the World Heritage sites guide if your work depicts or references heritage locations. Build a tight sequence for a portfolio, and label images with clear location and light notes to speed future pitches.
For different genres, use these quick edits: landscapes get measured clarity and dehaze, architecture needs perspective correction, and nightscapes benefit from targeted noise reduction and star sharpening. Export sizes should match use, high-res for print and compressed versions for social. A consistent watermark policy preserves credit without distracting from composition, and succinct captions increase editorial interest. Finally, a simple contact template helps you pitch to travel editors and stock platforms efficiently.
Plan your next trip around light, not just place, and you will get shots that matter. Keep the checklist handy when you pack, and allow time to scout and wait, that is the difference between average images and memorable frames. With the scoring method, gear list, and timing tactics here, you can reliably shoot landscapes, architecture, long exposures, and nightscapes in top locations. Now pick a destination, plan your light windows, and go capture something you will be proud to show.

Luca is a travel photographer and luxury explorer who brings destinations to life through curated guides and stunning visuals.